skip to Main Content
Measuring and Mixing Flex Coat

Measuring and Mixing

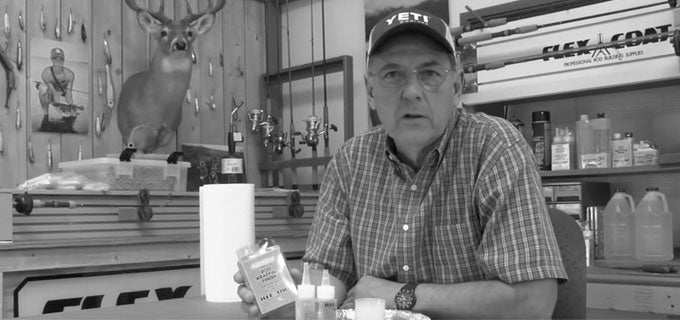
Measuring and Mixing… “The Flex Coat Way”

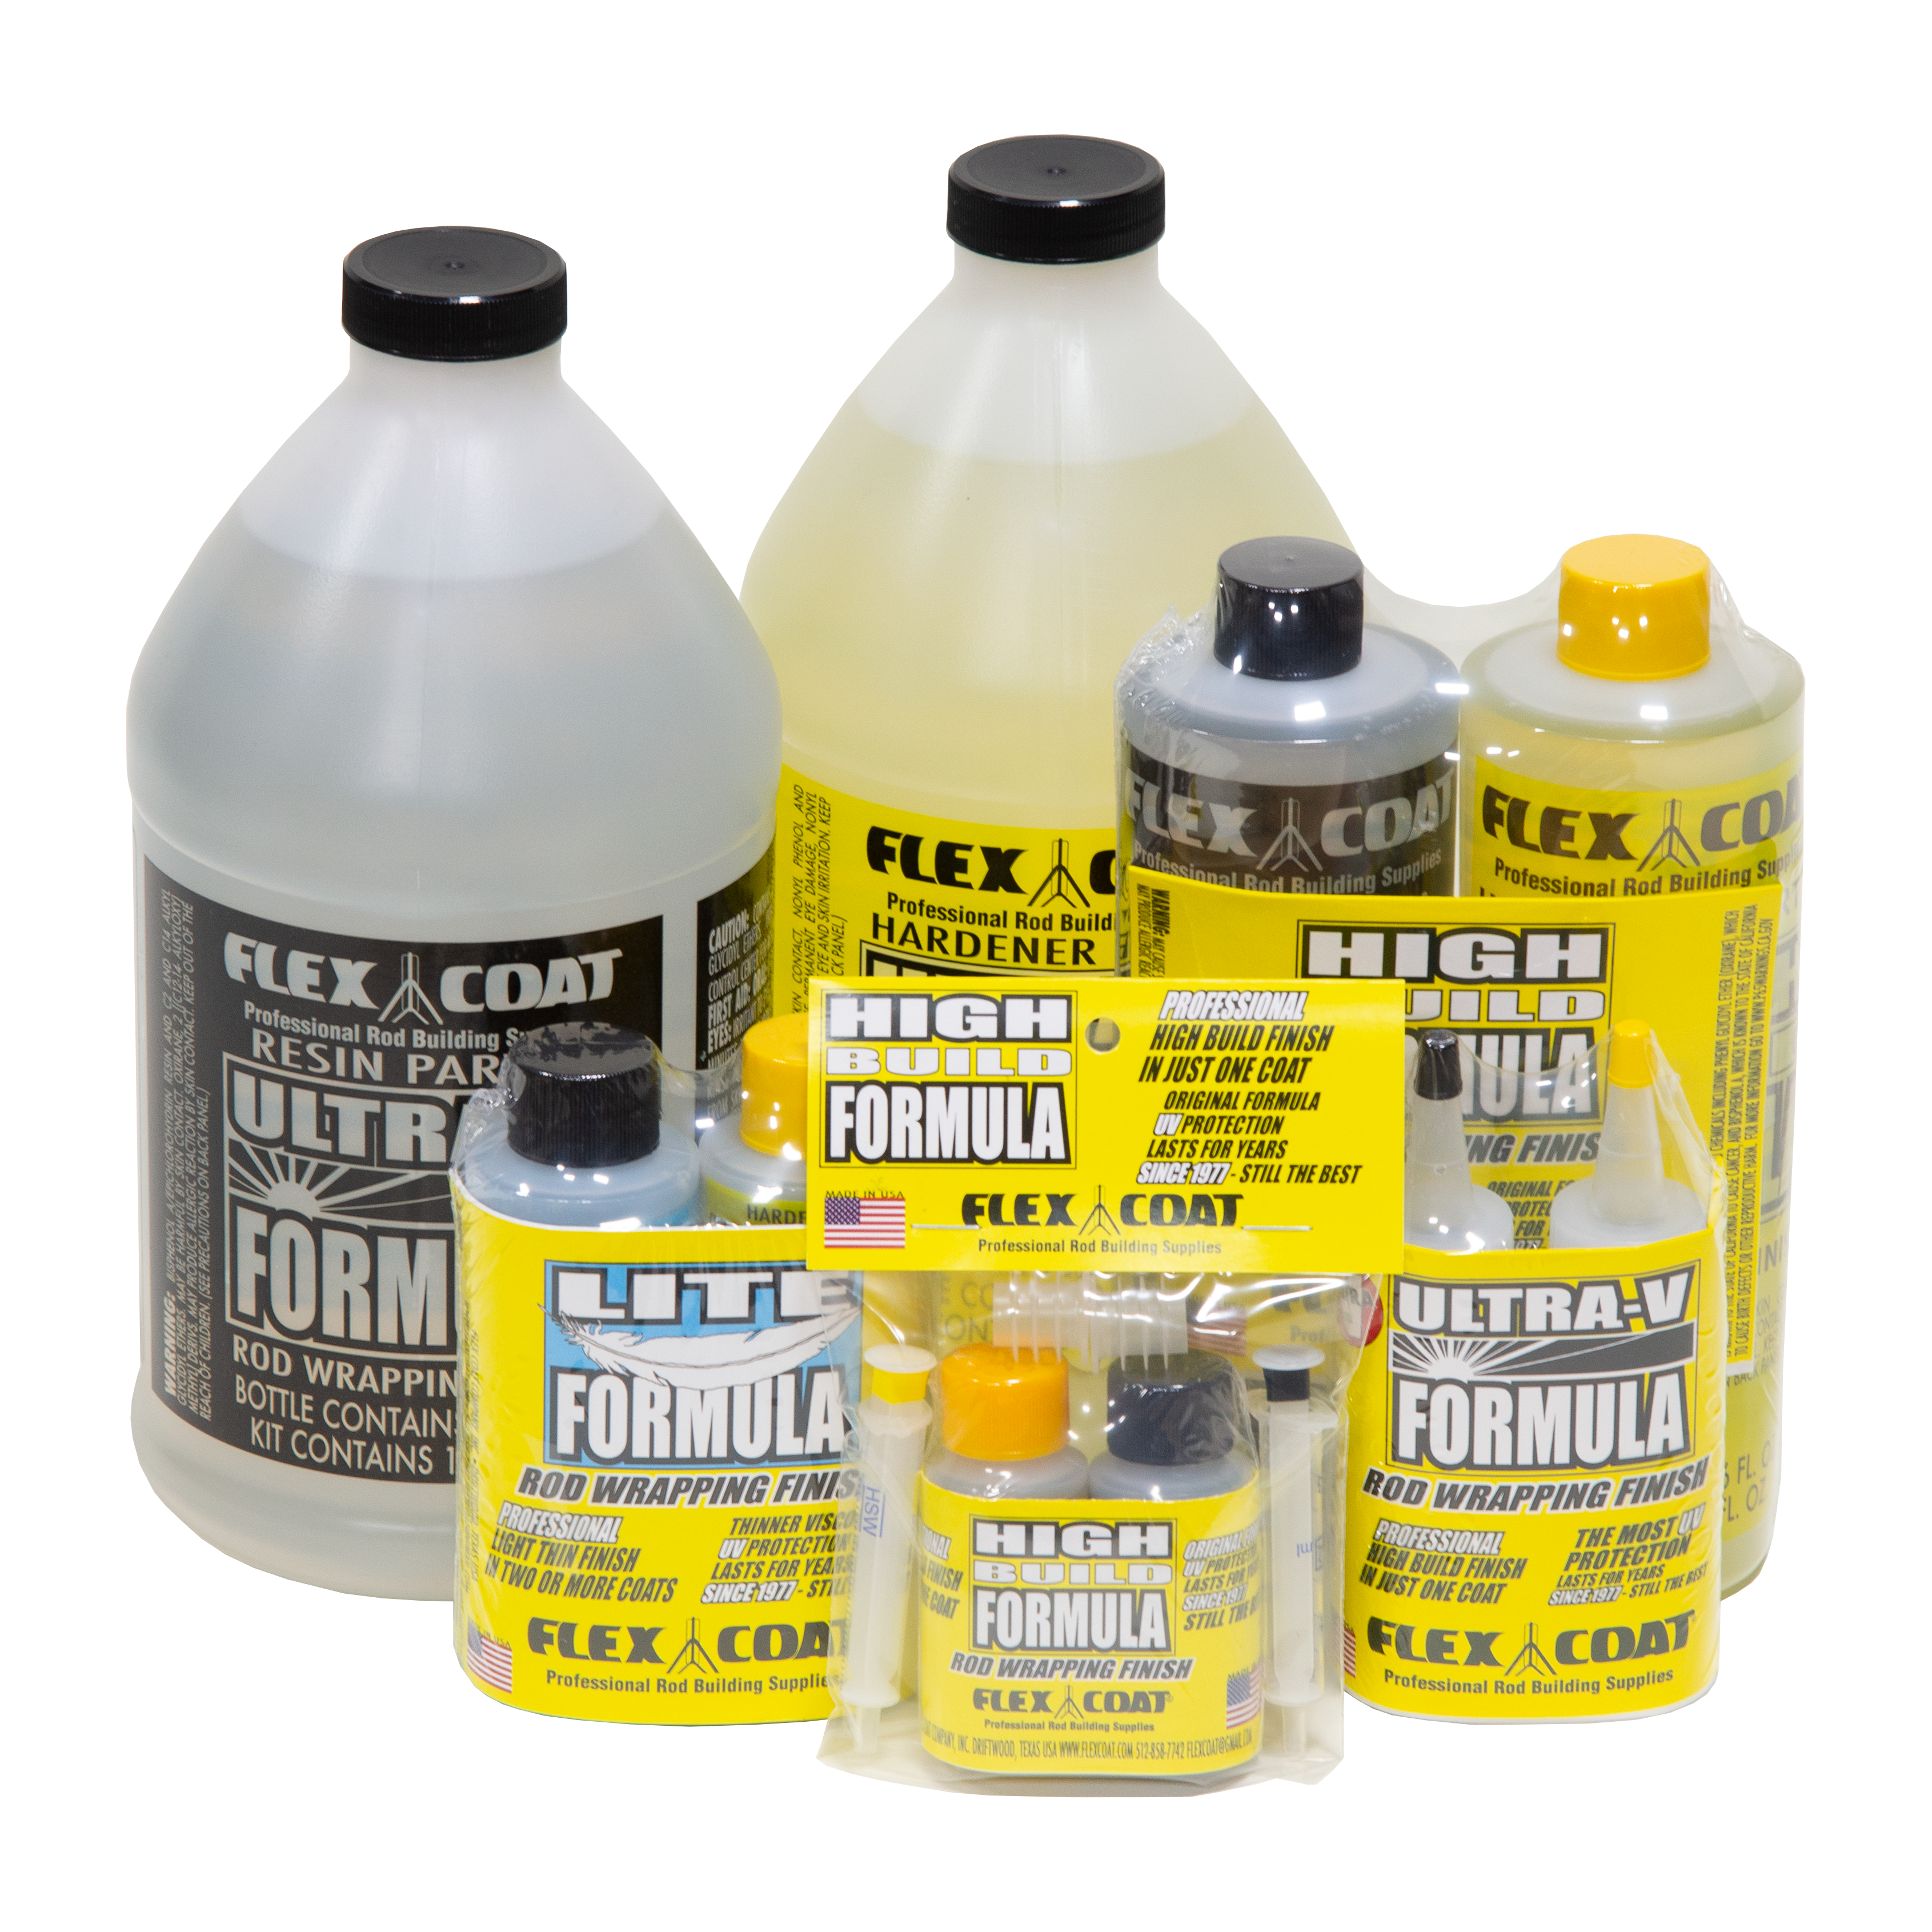
For years we have communicated with custom rod builders and manufacturers about our techniques to measure and mix Flex Coat Rod Wrapping Finish successfully. We decided to include the following directions in our catalog addressing only measuring and mixing of Flex Coat. The directions list the steps of how we do it on our personal rods. These techniques work with both Flex Coat Lite and High Build.

Creating the Perfect Finish

We get our best finish with two coats. Some heavier offshore and surf rods may require a third coat. We call the first coat the primer coat, which in most cases is thinned with acetone. This technique is most advantageous when finishing a large number of rods. Thinning with acetone allows for increased speed of application and extended pot life. When thinning with acetone, apply just enough finish to saturate the thread. Understand that when applying a primer coat thinned with acetone we allow 24 hours for the finish to cure before applying the next coat. When we are rushed to finish a rod and cannot wait 24 hours for the primer coat to dry we do not thin the first coat. Not thinning the primer coat allows recoating in 6 to 8 hours.

Measuring and Mixing Flex Coat - Starting to Mix

Note: We do not use color preserver on any of the wraps that hold the guides down because it prevents the finish from soaking into the thread, which is essential for a strong bond.

Checking the Temperature

Prior to measuring equal portions we like our finish to be around 80 degrees Fahrenheit. This temperature makes it easier to measure equal portions and mix the finish thoroughly. In cold weather we heat the A and B bottles with a lamp, space heater, hair dryer, warm tap water or other heat source until the bottles are no longer cool to touch but not warm (neutral to touch). If the resins are too warm (over 100 degrees F) the catalytic reaction occurs too quickly.

Measuring Equal Proportions (Two Techniques)

To measure small amounts (3 cc of each resin or a 6 cc mix) we use Flex Coat syringes because they do not contain silicone. When measuring larger amounts (7 1/2 cc of each resin) we use graduated mixing cups. In a graduated mixing cup we always measure Part B first (the hardener) because it is thinner and levels quickly for most accurate measurements. We never measure less than 2 cc of each part when using syringes nor less than 5 cc of each part when using graduated measuring cups.

Measuring and Mixing Flex Coat - Scrape the Walls

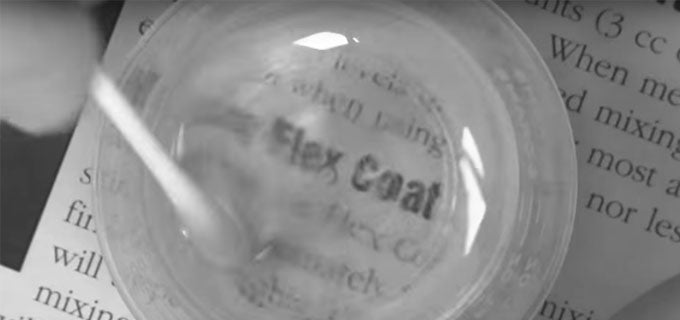
Mixing Flex Coat the Right Way

We always mix Flex Coat in a mixing cup with a small diameter round non-porous plastic or metal stirrer (approximately 3/32″ to 1/8” in diameter). Never use wood popsicle or craft sticks. Mix the finish thoroughly, the finish will first appear marbled, then cloudy, then marbled again, and finally it will appear clear when thoroughly mixed. It is important to scrape the sides and bottom of the mixing cup to insure all of the epoxy is completely mixed. Mix the Flex Coat until it is crystal clear. Some bubbles will form in mixing, and while a small amount is no cause for concern, avoid a frothy mixture. After the mixture is in its clear state it can now be thinned with acetone. The amount of acetone added should not exceed 1/15 of the total mixture volume. We use our graduated pipets for these minute measurements of acetone (see tips on measuring acetone for primer coat).

Measuring and Mixing Flex Coat - Completely Mixed

Using Your Flex Coat Mix

Again mix the thinned Flex Coat until it is crystal clear. Once mixed, we pour the finish onto a disposable plate covered with aluminum foil to release bubbles and extend the pot life. This primer coat with acetone should be applied in a thin coat, where once saturated, you can still see the thread texture. It is important that the primer coat with acetone is not too thick, otherwise it will not set properly. Make sure the finish soaks through the threads and fills the air pocket caused by the guide foot, the rod blank, and the threads. We allow 24 hours for the primer coat to dry (6 to 8 hours for un-thinned coats) before applying additional coats. We never thin any additional coats after the primer coat.

Tips For Using Acetone

  • For a 6cc mix of Flex Coat add 2/5cc of acetone, which is just under 1/2cc
  • For a 15cc mix of Flex Coat add no more than 1cc of acetone
  • For a 1oz. mix of Flex Coat add no more than 2cc of acetone

This Post Has 28 Comments

  1. You need to rotate Flex Coat finish for at least 2 hours. It will then be cured to the touch in 6-8 hours and fully cured in 24 hours.

  2. If you do not use NCP/sealer – your brand, what protects the thread from fade and u/ v degradation?

  3. The thread color is protected form the UV light from additives in the thread color. Our finish has UV protection to help with premature yellowing of the finish.

  4. I have built several fly rods with Flex Coat over the years and have always had good results. I recently completed a fly rod with two coats of Flex Coat for a rod I was giving as a gift. I let it sit for a couple of days before putting the rod in the rod sack and then shipping to my cousin. He received the rod yesterday and a couple of sections were stuck in the rod bag from the Flex Coat sticking to the cloth. He indicated the wraps still have some tackiness to them. Is there anything that can be added to help with the cure or is it just let it rest???

  5. Thanks for the email and sorry you are having trouble.

    A tacky finish is indicative of improper or insufficient mixing. This sounds like your finish is under mixed. Basically, mix it longer and more thoroughly. Scrape the walls of the cup and bottom but avoid introducing bubbles. The finish will appear marbled, then cloudy, then marbled again, and then clear, mix it until it is crystal clear.

    There is a big difference between finish mixed 99% and finish mixed 100%. Always mix up equal portions and never measure less than 3 cc’s of each part.

    Once properly mixed you can pour it out on a paper plate covered in aluminum foil. This will extend the pot life and help get rid of bubbles.

    Click the link below to watch our short video on mixing Flex Coat

    https://flexcoat.com/learning-center/instructional-video-on-mixing

    As far as your rod, if you can scratch the finish off with your thumb nail then you will have to take off the finish and wraps and start over. If it doesn’t scratch off, then put on another coat that is properly mixed. It will last 20 years instead of 100 years.

    I hope this helps, let me know. You can always give us a call.

  6. Hi, how long is the usable pot life of flex coat thin formula after mixing? When coating my wraps I tend to get in a rush because I think the epoxy is going to harden in a few minutes and cant take my time to coat properly.

    Thanks
    Jody

  7. Jody, great question. To get a longer pot life, pour the mix out on aluminum foil wrapped onto a paper plate. At 72 degrees room temp the finish should be usable for up to 20-25 minutes. You can also hit it with a torch or heat gun to flash thin it to get you a bit more time. Don’t overwork your finish, get it on there, saturate your finish, take it off to desired level and move on. Check out our video:
    https://flexcoat.com/learning-center/applying-flex-coat-rod-wrapping-finish

  8. I mixed 2ml Part A and B as specified in the directions. Mixed it as directed for over an hour and it never got clear. It looked like Elmer’s Glue or milk and never cleared up. I gave up. What gives? What shd I do?

  9. I am new to the rod repair and building. I see where it is recommended at least 2 to 3 cc mixture for the flex coat. I am doing repairs only and doing 1 tip or 1 guide at a time. Is there any recommendations for a smaller mixture amount?

  10. Cliff, it is possible to mix smaller amounts but you should be very careful with the measuring and mixing of the finish. If you are off on the measurement while doing this, the percentage is much higher than if you were off by the same amount in a larger batch. This can be problematic so be careful and you should be fine.

  11. I attempted to replace two guides on my spinning rod. I mixed the flex coat as instructed–warmed, measured carefully, mixed slowly for about 10 min. until clear, applied and hand rolled the rod for 3 hours. The flex coat never hardened. I am very frustrated.

    What is my next step? Remove flex coat–how? Remove wrap?

    Help!!

  12. I seem to have a never-ending problem with dust. On my final coat they always seems to be a big chunk of dust that landed right in the middle of my work when it’s almost dry. Is there a way to stop the dust from landing on your work. And if it does land on your work, is there a way to fix it ( cutting out dust then polishing with Dremel? )

  13. It is important to keep your finishing room clean and dust free to start with. This will eliminate the problem to begin with. If you to have dust in cured finish, just carefully carve and/or shave it out with a clean knife and re-coat.

  14. This is all indicative of undermixed finish. If you can scratch it off with your thumb nail then you will have to clean and cut off the finish and wraps and start over. If you can’t scratch it off, then re-coat with a proper fully mixed coat. Call us if you want to discuss further 512-858-7742

  15. Lure coat is still tacky after 24 hrs, Whats the best way to finish it? Reapplying a new coat?

  16. A tacky finish is indicative of improper or insufficient mixing. This sounds like your finish is under mixed. Basically, mix it longer and more thoroughly. Scrape the walls of the cup and bottom but avoid introducing bubbles. The finish will appear marbled, then cloudy, then marbled again, and then clear, mix it until it is crystal clear.

    There is a big difference between finish mixed 99% and finish mixed 100%. Always mix up equal portions and never measure less than 3 cc’s of each part.

    Once properly mixed you can pour it out on a paper plate covered in aluminum foil. This will extend the pot life and help get rid of bubbles.

    Click the link below to watch our short video on mixing Flex Coat

    https://flexcoat.com/learning-center/instructional-video-on-mixing

    As far as your rod, if you can scratch the finish off with your thumb nail then you will have to take off the finish and wraps and start over. If it doesn’t scratch off, then put on another coat that is properly mixed. It will last 20 years instead of 100 years.

    I hope this helps, let me know. You can always give us a call. 512-858-7742

  17. I recently repaired a broken guide and ran into the issue with flex coat turning frothy and white like glue (mentioned in another post). I know it comes from trying to mix small batches. You don’t want to mix a ton of this stuff up to fix one guide (it’s not the cheapest thing in the world). What I did was get the little medicine cups and measure out 1 dram on the Part B hardener and then add another dram of Part A so I had exactly 2 drams. You need to really warm this stuff up before doing this. I got some water very hot and let the bottles sit in it for a couple of minutes. Then mix it very slowly. Don’t beat it like an egg white, mix it really slow until it sort of “breaks” clear and you start to feel the cup heat up. Then you know it’s mixed and ready. Put it on tin foil to keep it from getting hard in the cup too quick. Worked for me on a small batch.

  18. I’m doing a triple wrap on a heavy ocean rod. I usually wait until I’ve finished all three wraps, then do the first application of thin Flexcoat, thinned with acetone. I follow that with an application of heavy Flexcoat, and finally a coat of thin Flexcoat to make it perfect.

    I’ve never had problems with this approach but I’m tempted to do a first application of Flexcoat over the first wrap, to make sure it’s really bonding to the rod. What do you think?

  19. I had some spots develop in the flex coat light finish that I applied. It was a first coat and only happened on one guide. It does not look like bubbles. It was the last guide on the rod section that I was coating. Because my work space is small I have been doing my rods in two halves. This was the bottom two sections of a nine foot fly rod. Any ideas on what might have happened or how to fix it?

  20. I believe that if it is not broken, don’t fix it. However, you can always try it and see. I don’t believe it will be a great improvement on your process. The thinning should help the finish penetrate completely.

  21. It is hard to say. Many things could be the culprit. Are the spots fisheyes? Where the finish is pulling away and not adhering? If so this is from silicone contamination of some kind. This could be from medical syringes or WD40 or countless other causes. It is important to keep everything clean when working with epoxy. Most importantly your hands. Another thing could be your thread. What kind of thread is it? Did you use color preserver? Maybe it did not saturate thoroughly. Again, this is nearly impossible to pin point on a glance. Call us if you would like to talk about this. 512-858-7742

  22. I build boats. I use a LOT of various resins. Thisgs THAT SHOULD be written in your instructions: Pot life at 72 degrees is ? ; Dry to touch time is about ? Full cure time is written at about 24 hours. Why not add the other two? Knowing how long the working time is important for laying out a project. I found this to be an irritating set of instructions.

  23. When I am hand mixing epoxy, I tend to get a lot of bubbles. Have you used a motorized epoxy mixer like the CRB Epoxy Mixing System? I am using Flexcoat Lite, how long do you recommend mixing with a motorized system?

    Thanks

Leave a Reply

Your email address will not be published. Required fields are marked *

This site uses Akismet to reduce spam. Learn how your comment data is processed.

Back To Top